
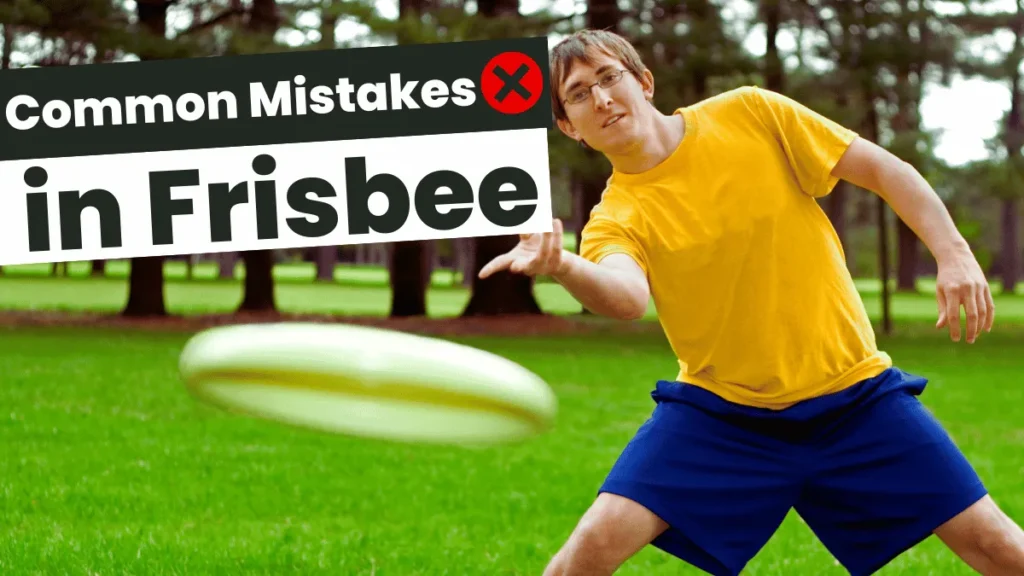
Frisbee is more than a backyard game. it’s a sport of finesse, physics, and fun. But for beginners, even a simple throw can feel like solving a Rubik’s Cube blindfolded. If your disc keeps veering left, stalling mid-air, or landing at your feet, you’re not alone. In this guide, we’ll break down the most common mistakes holding beginners back and teach you the five essential throws used in Ultimate Frisbee. By the end, you’ll toss like a pro no magic required.
Part 1: 3 Critical Mistakes Beginners Make (and How to Fix Them)
1. Throwing the Disc Up Instead of Flat
The Problem
Releasing the disc with the nose tilted upward creates excess lift, causing it to soar unpredictably (and often crash).
The Fix
- Adjust the disc angle: Keep the front edge (nose) slightly lower than the back. Imagine pouring coffee from the disc—it should tilt just enough to “spill” forward.
- Practice drill: Stand 10 feet from a target (e.g., a tree). Focus on releasing the disc flat. If it rises, tilt the nose down; if it dives, tilt it up.
2. Overpowering the Throw
The Problem
Muscling the disc with your arm leads to wobbly, inaccurate throws. Frisbees thrive on spin, not brute force.
The Fix
- Wrist-first technique: Practice flicking the disc with only your wrist. Hold your elbow still and “snap” your wrist forward.
- Pro tip: Throw a paper plate. It forces you to rely on spin, not power.
3. Overcomplicating the Wind-Up
The Problem
Exaggerated wind-ups (curling the disc behind your head or body) disrupt timing and reduce control.
The Fix
- Simplify your motion: For backhands, keep the disc close to your torso. For forehands, limit the wind-up to hip level.
- Use your hips: Rotate your hips toward the target as you throw—this generates power without overextending.
Part 2: The 5 Must-Learn Throws for Ultimate Frisbee
Master these, and you’ll dominate the field.
1. Forehand (Flick)
When to Use
Quick passes around defenders or in tight spaces.
Step-by-Step Guide
- Grip: “Shake hands” with the disc. Stack your index and middle fingers under the rim, thumb on top.
- Stance: Stand sideways, knees bent.
- Throw: Snap your wrist forward while rotating your hips. Keep the disc flat.
🔑 Key tip: Start with short, wrist-only throws to build muscle memory.
2. Backhand
When to Use
Long-distance throws or precise short passes.
Step-by-Step Guide
- Grip: Curl your fingers under the rim, thumb on top.
- Stance: Face sideways, pivot your front foot toward the target.
- Throw: Swing the disc across your body, releasing at hip height. Rotate your shoulders for power.
🔑 Key tip: Follow through with your arm pointing at the target.
3. Hammer Throw
When to Use
Arcing over defenders or hitting a teammate in the end zone.
Step-by-Step Guide
- Grip: Same as a forehand, but hold the disc upside down.
- Stance: Step back with your non-dominant foot.
- Throw: Fling the disc overhead like a baseball pitch. Aim for a high arc.
🔑 Key tip: Use your non-throwing hand to balance the disc during the wind-up.
4. Scoober
When to Use
Sneaky short throws over a defender’s shoulder.
Step-by-Step Guide
- Grip: Hold the disc upside down with a forehand grip.
- Stance: Face your target square-on.
- Throw: Flick the disc sideways from your waist, releasing it at a 45-degree angle.
🔑 Key tip: Practice with a partner—this throw thrives on surprise.
5. Off-Hand Backhand
When to Use
Quick give-and-go plays or escaping tight defense.
Step-by-Step Guide
- Grip: Mirror your dominant-hand backhand grip.
- Stance: Pivot on your non-dominant foot.
- Throw: Use a short, sharp wrist snap—no full arm motion needed.
🔑 Key tip: Drill this daily. Ambidextrous players are unstoppable.
Part 3: How to Throw a Frisbee Farther (Backhand Mastery)
Step 1: Perfect the Power Grip
- What it is: Grip the rim tightly with all four fingers curled underneath.
- Why it works: Maximizes spin and stability for longer flights.
Step 2: Engage Your Core
- The secret: Power comes from hip rotation, not your arm.
- Drill: Practice throwing while keeping your arm relaxed. Focus on twisting your torso.
Step 3: Footwork Matters
- Plant your foot: Step forward with your non-dominant foot, toes pointing 45 degrees outward.
- Transfer weight: Shift from your back foot to front foot as you release.
Pro Tips for Faster Progress
- Film yourself: Record your throws to spot flaws in grip or posture.
- Play catch daily: Consistency beats hours of occasional practice.
- Strengthen your core: Planks and rotational exercises improve throwing power.
Final Thoughts
Frisbee is a dance of aerodynamics and intuition. Whether you’re playing casually or competing in Ultimate, mastering these fundamentals will transform your game. Remember: Even pros started with wobbly throws. Grab a disc, hit the park, and let physics do the rest.
FAQ: Quick Answers to Common Questions
Q: Why does my Frisbee always curve left?
A: You’re likely tilting the disc or releasing it late. Adjust your grip and follow through straight.
Q: Can I use a regular Frisbee for Ultimate?
A: Yes, but Ultimate-specific discs (175g) offer better control for competitive play.
Q: How long does it take to master the forehand?
A: Most players need 2-4 weeks of daily practice. Start slow—accuracy before speed!